You know what’s a real pain in the ass when you’re 4’9″? Buying trousers. I hate it with a passion, because off the rack they are always something like a foot too long. And I always get told, well, you can just cut them shorter, right? Which technically you can but don’t always get a good result, especially if they are flared or have some sort of decoration around the cuff, and the knees and hips and thighs can end up all in the wrong places, depending on the design.
The first article of clothing I ever made was a pair of trousers, although at the time it was a big stretch for my skill level. Since then I’ve been on a quest for…the perfect pants.
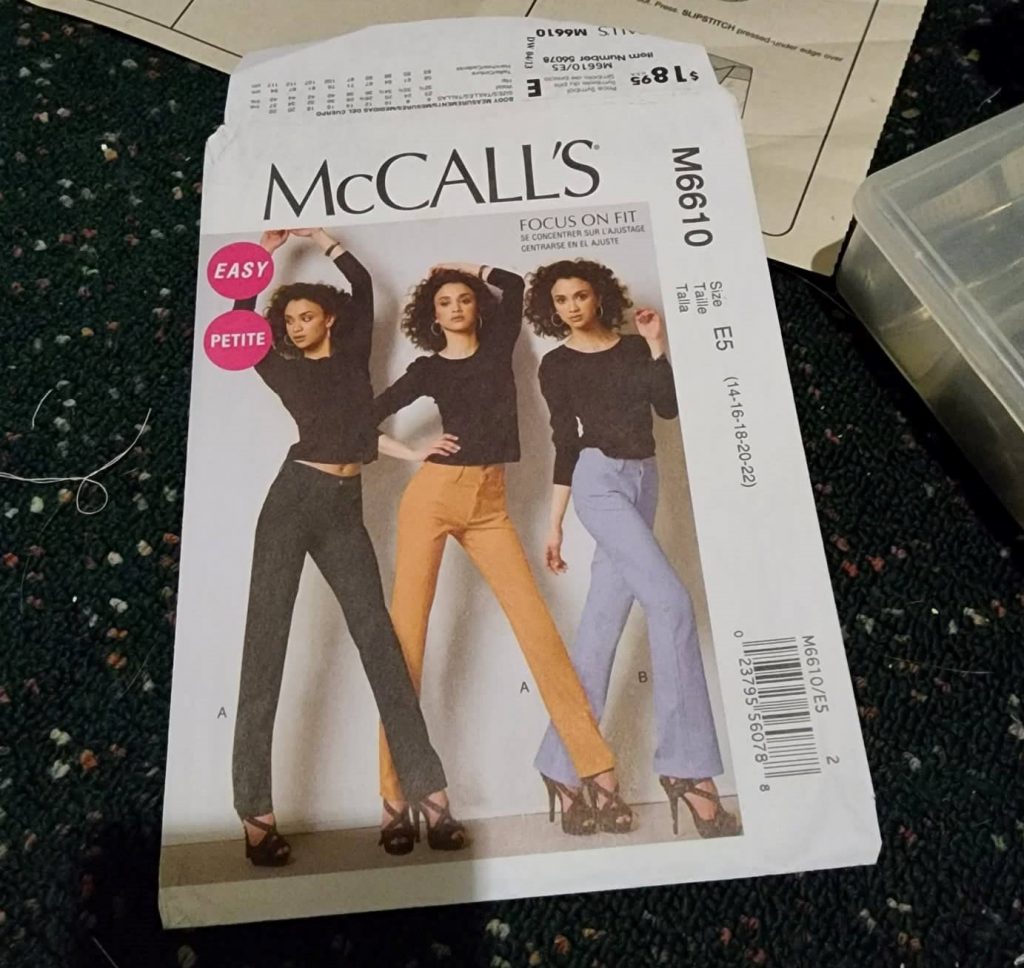
This pattern, McCalls M6610, I’d tried once before, in 2019, when I was still very new to this art. It has everything you could ask for in a pair of pants, pockets front and back, front fly closure (I’m still on the fence about back zips in pants), and they have the look.
As a bonus the instructions contained a full guide to fitting the oft-troublesome trousers, meaning I might finally achieve the dream of trousers actually fitted to my body. And one of the variations has flares. I love flares, but usually I can’t have them, what with having to cut off half of everything below the knee.
What I discovered however, was that it was discouragingly complicated. The look involves a lot of parts, all those pockets and belt loops and whatnot.
By the time I’d got together my mock-up in a grungey brown fabric, I was thoroughly exhausted. I just didn’t have the energy to follow up with a real version.
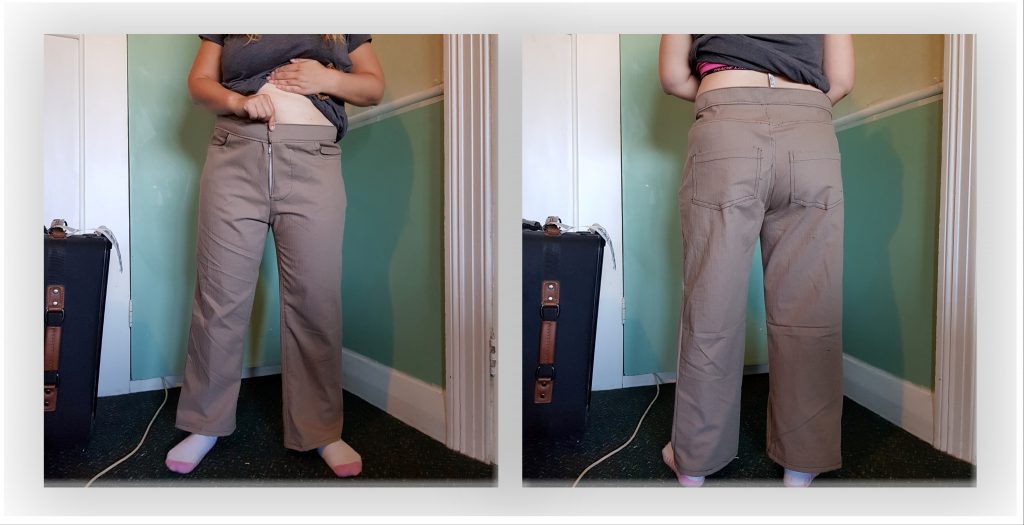
But since then I’ve actually taken to wearing the mock-up, ugly black stitching and all. Thing is, they’re good pants.
Now with a little more experience under my belt I decided to give it another go. First problem was, I’d done this before I had any system for storing my used patterns, and I am a mess (that’s putting it kindly!). It seemed I’d misplaced a few pieces, including the main front piece for the flared version.
I could have just used the other view, but dang it, I want flares! So I did my best to modify the remaining piece for the non-flare view, as well as re-drafting the other missing pieces.
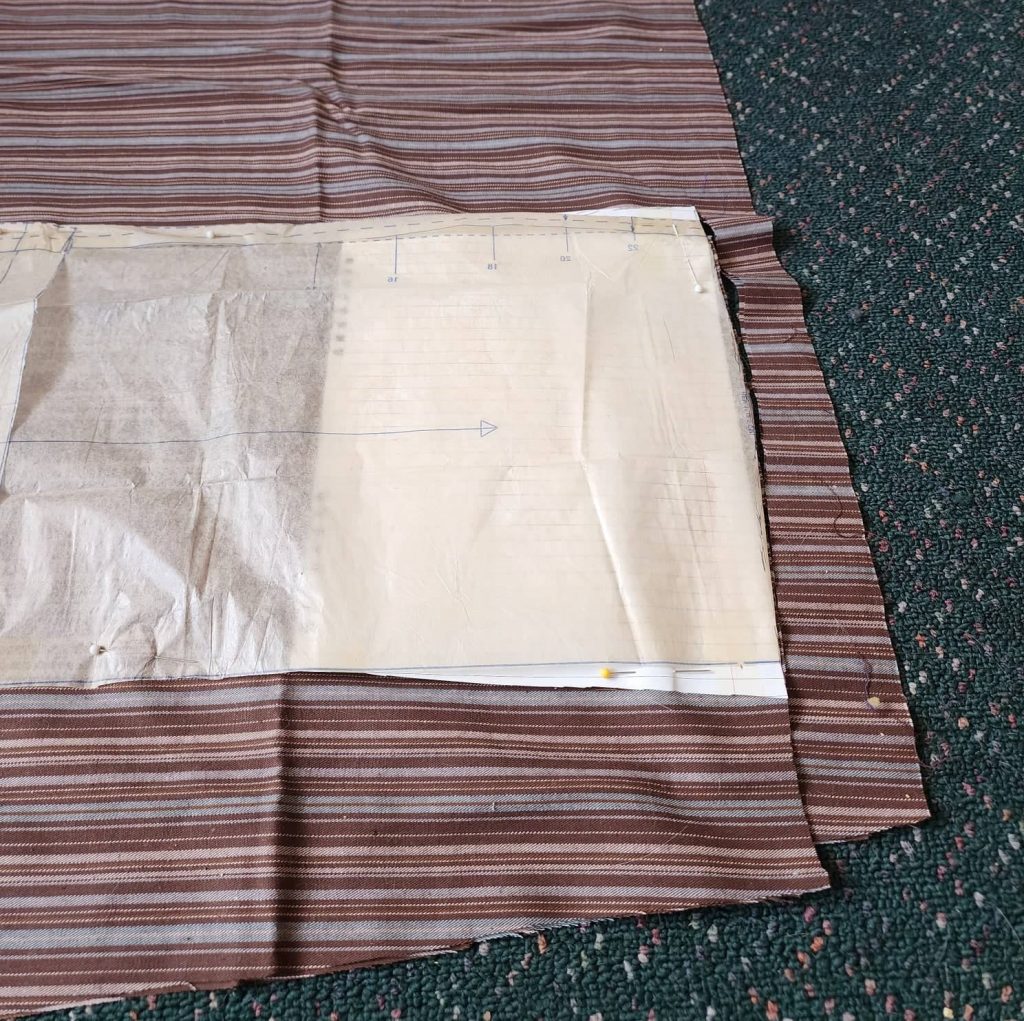
(Then, when I was half way through the job, I actually found the missing front piece. A mess, I tell you!)
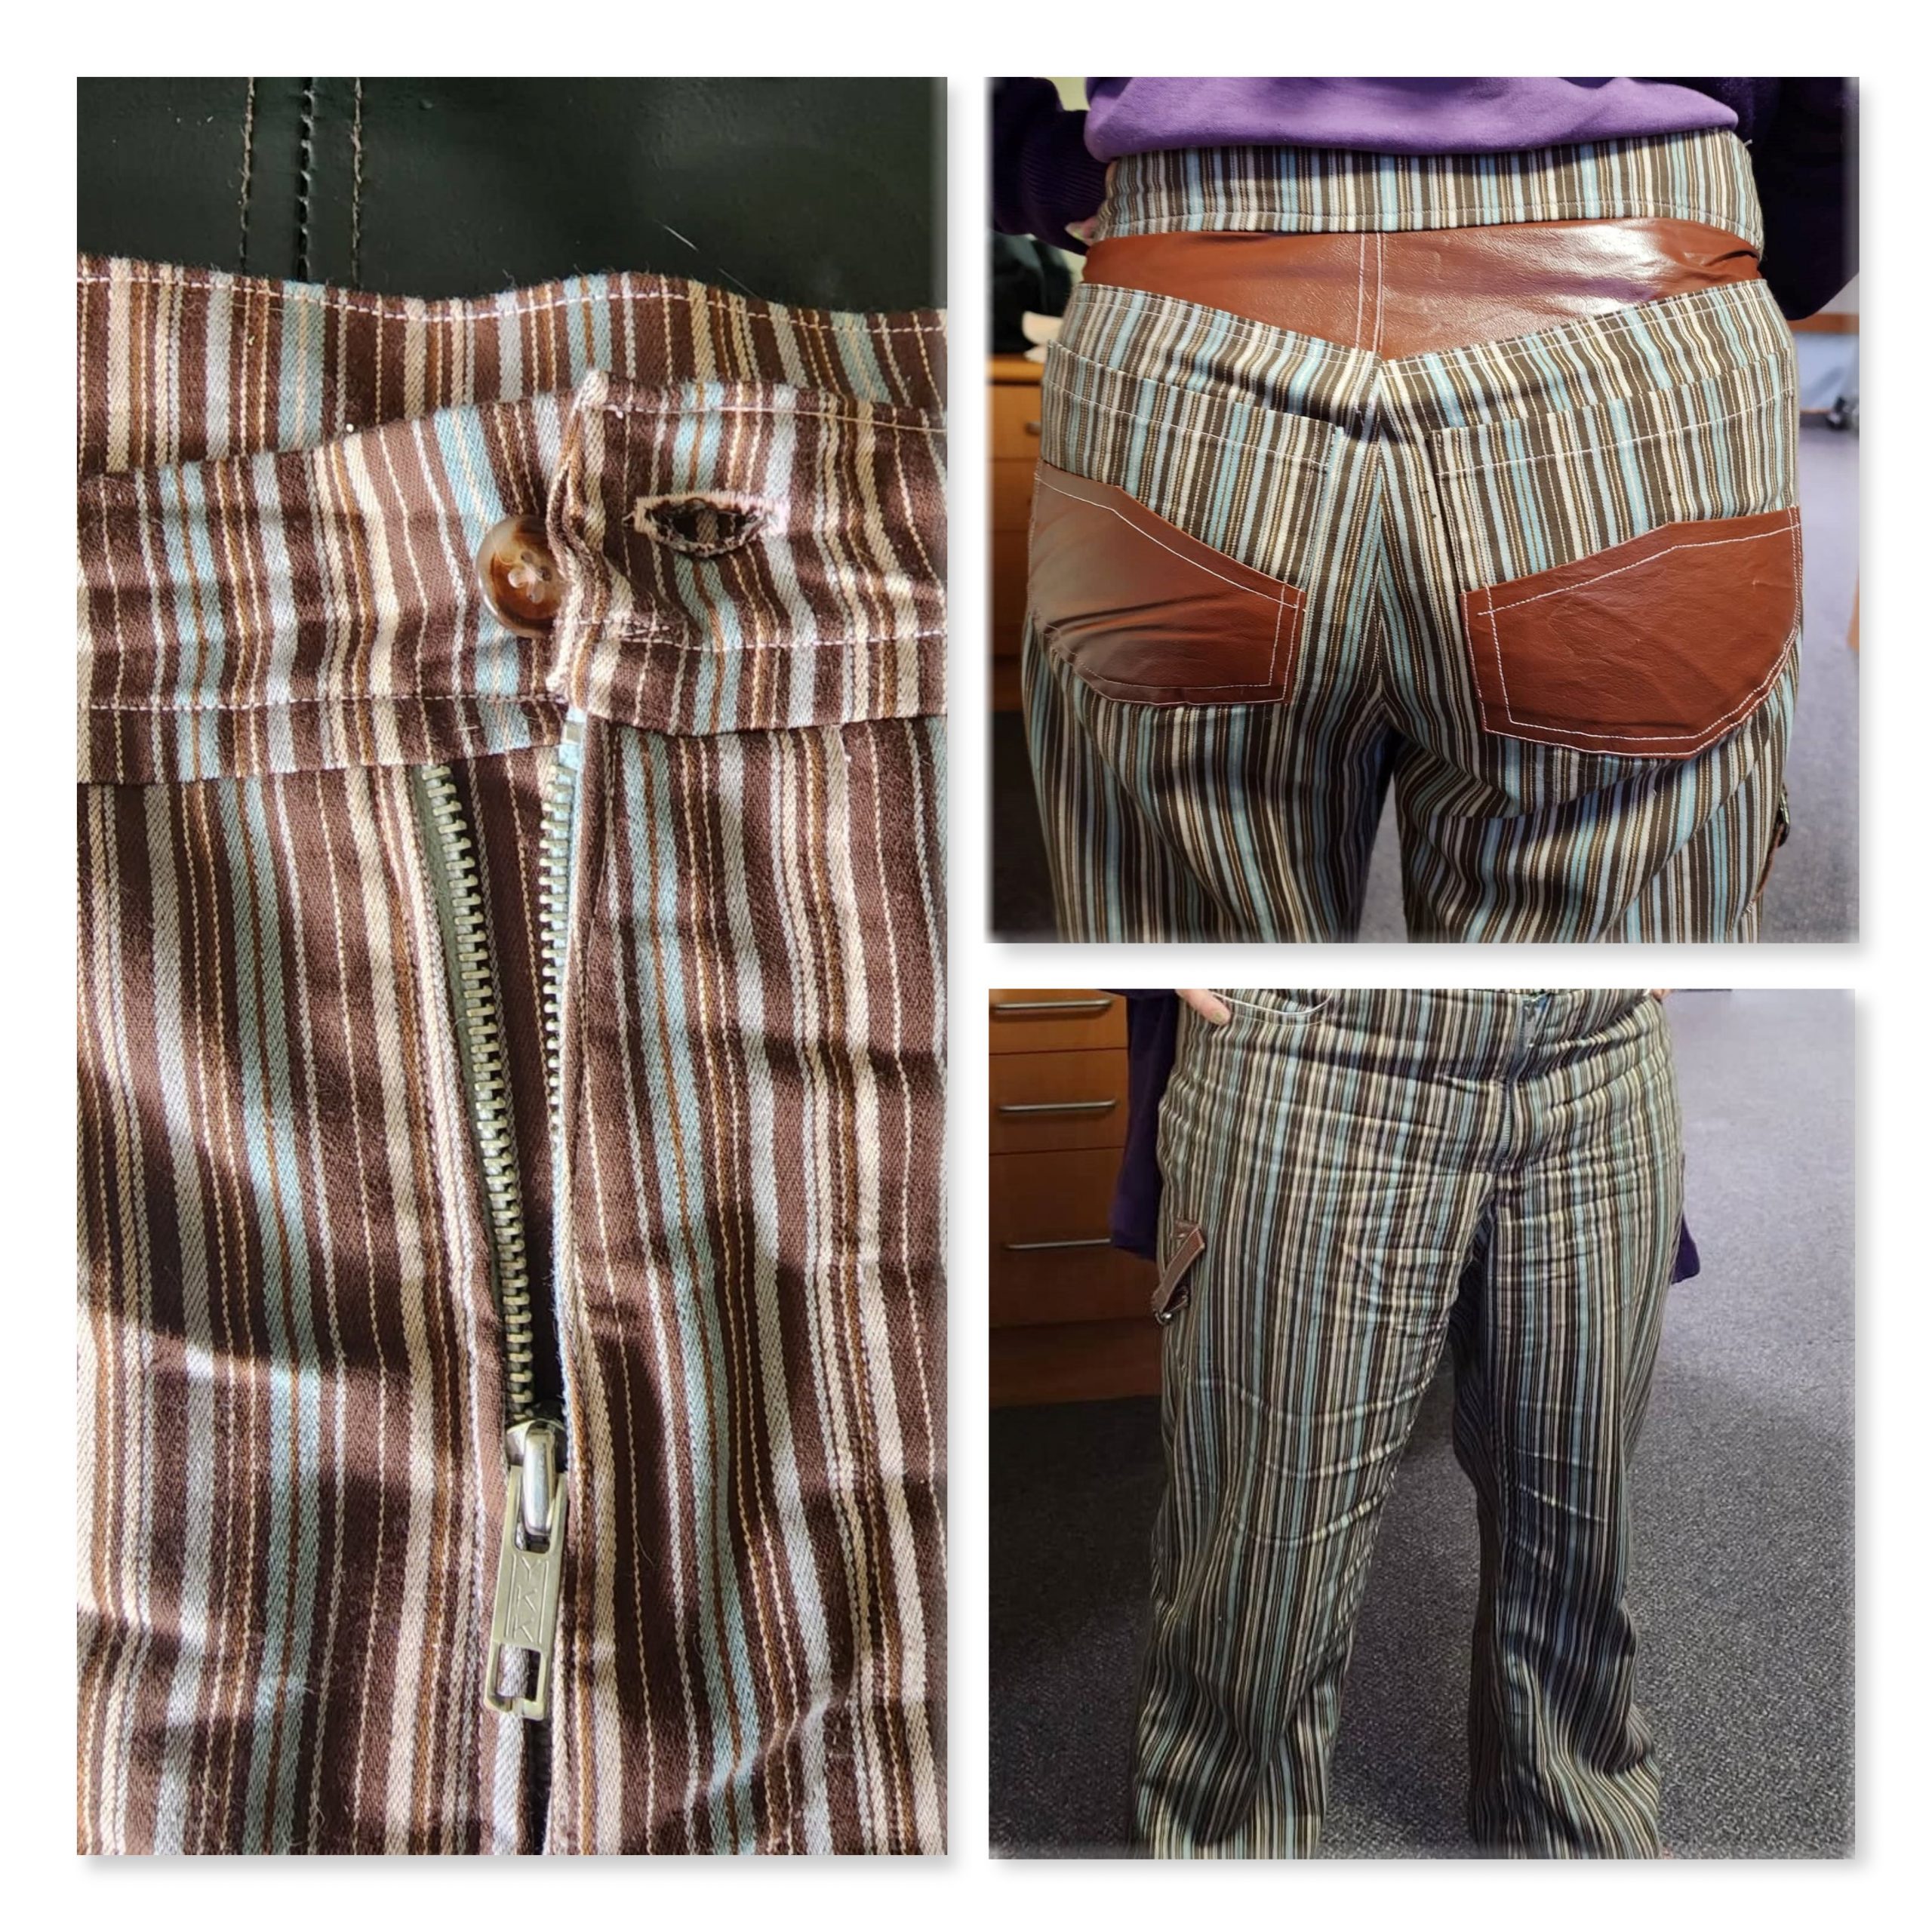
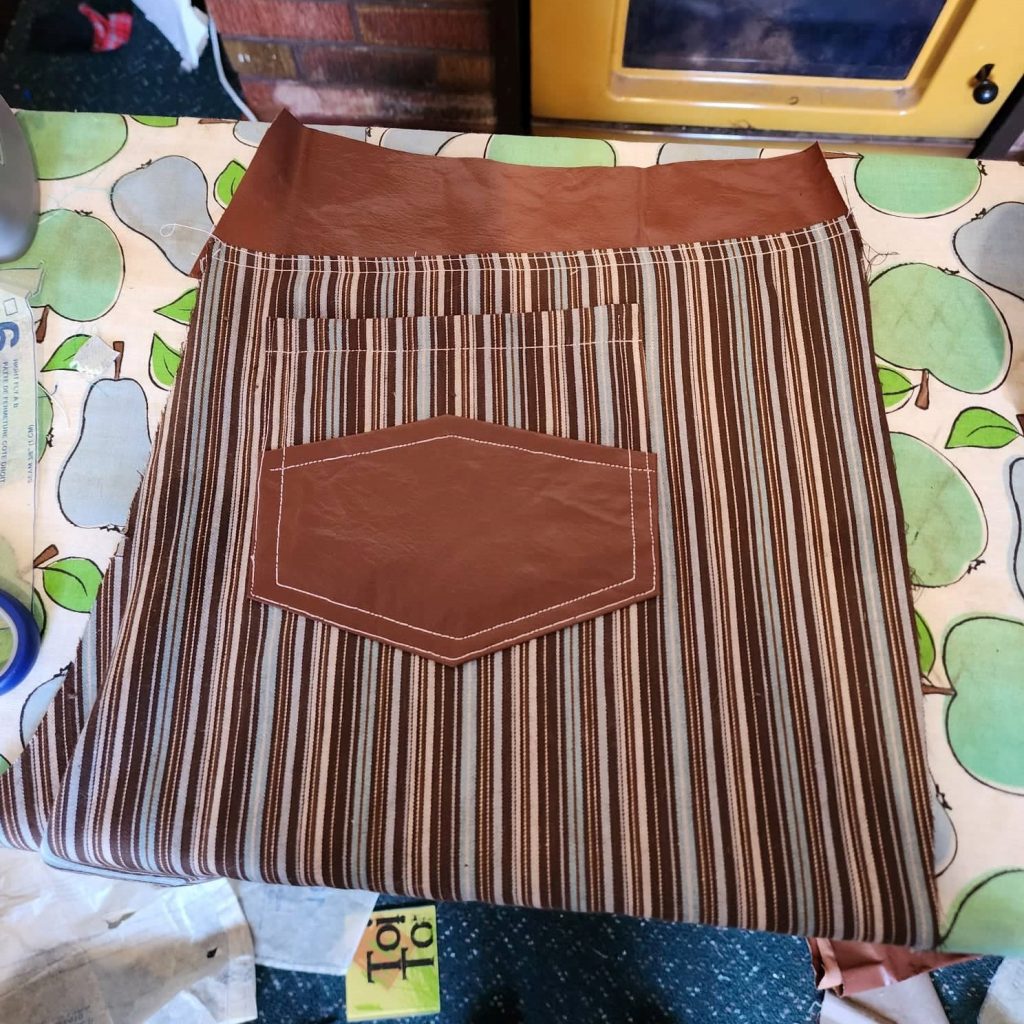
I pulled the most pantsy looking fabrics from my stash and settled on a brown stripe with pink and blue accents.
This pattern also features decorative edge- and over-stitching, and – more mindful of my thread choices this time – I chose a pale pink for the purpose. I also simplified things slightly by making the pockets on both sides the same, where the instructions called for me to do them differently.
But see, my problem is I can’t just let things be simple for myself. So I began to think up ways I could spice up the design. Eventually my eyes alighted on some fake brown leather I got a while ago, and an idea began to form in my head.
I followed the instructions on this page for working with leather, although I gave up on the adhesive pretty quickly as it just seemed to make everything sticky (go figure!).
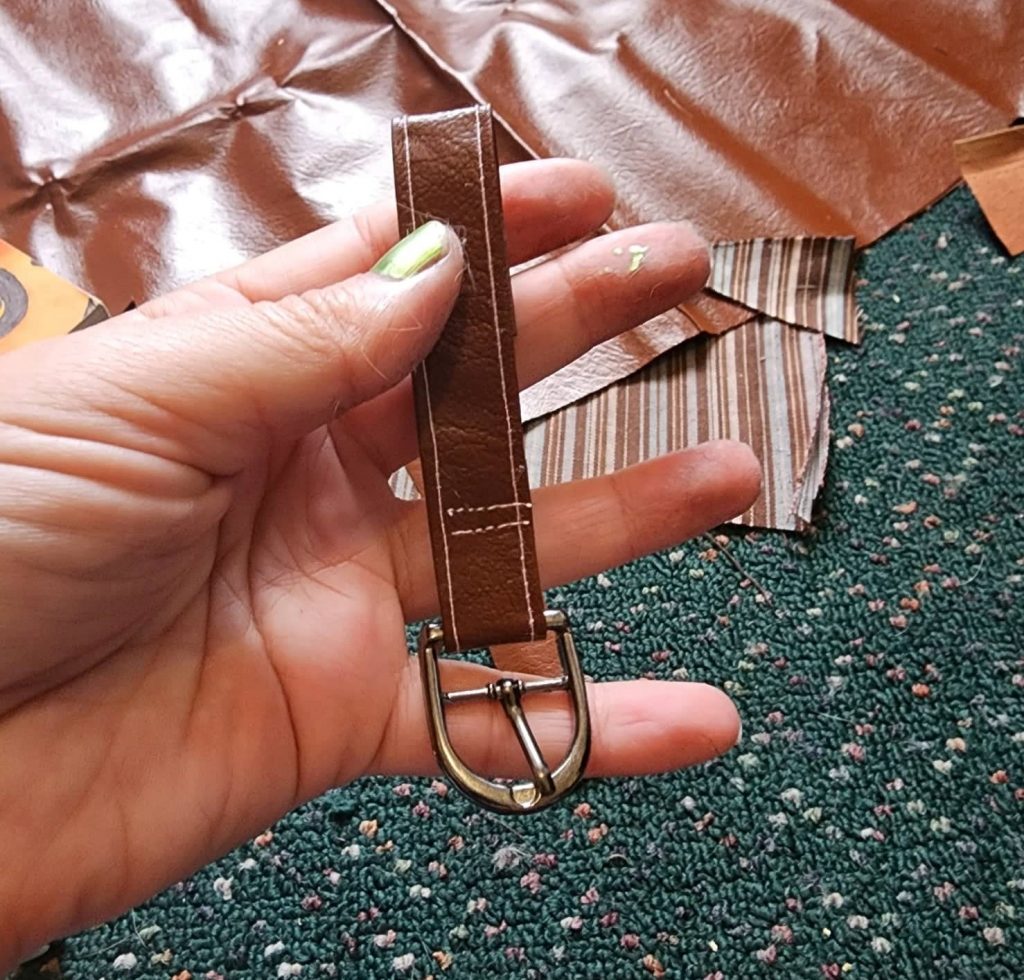
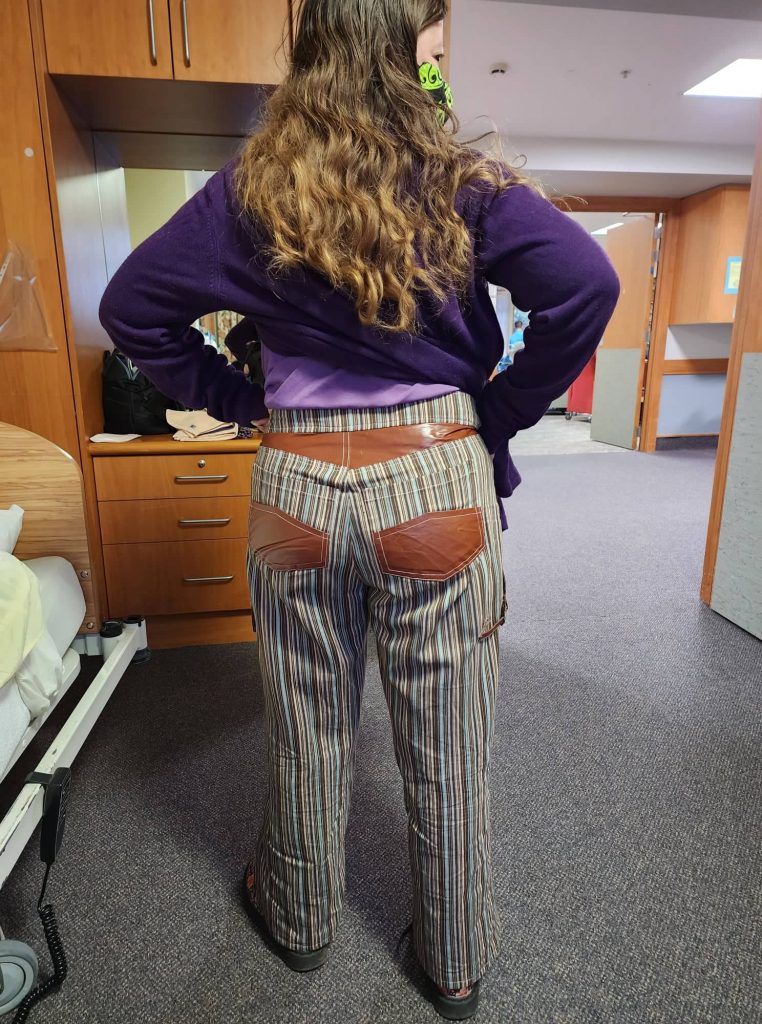
Once it came time to do the back I also decided to apply leather accents to the pockets and make the yoke out of the same material. I’m pleased to brag that the fabric cost me $5 and the fake leather $4 – we won’t mention the cost of leather adhesive and needles and all the rest!
I became more and more excited as the garment took shape. Not only did it seem as if it would fit, but the look was coming off well. At a glance it could easily be assumed that these were store-bought trousers.
The final challenge was something I’d until now avoided – the buttonhole. Now was the time to put my fear of the complicated-looking buttonhole foot aside and finally learn to use it. I did a couple of practise holes before taking the machine to my precious pants, and succeeded on the second try. Even the button matches well!
Here’s the end result! The flare isn’t obvious and that’s probably my poor drafting at fault.
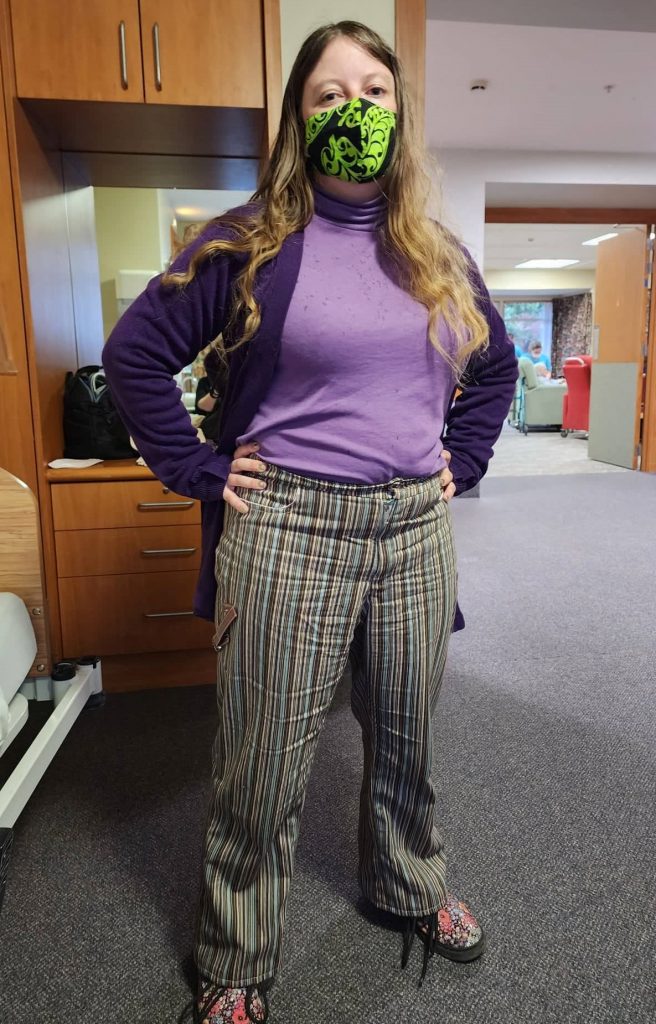
In future I might raise the crotch a little, and will probably extend the waistband further on the button side. I was a little confused at that part of the pattern as there seemed to be enough waistband available to do so, but the pictures seemed to indicate not to. Looking at pictures of real jeans online it seems I did it right, but it feels a smidge off. We’ll see.
As to the Guerilla Wardrobe name for this piece? Well, one of my favourite old Lip Service lines is Corporate Vampire, so I think I’ll be a shameless copycat and declare this the vanguard of my new clothing line: Corporate Cowboy.
Introducing…the Corporate Cowboy Buckaroo Stops Here trousers!