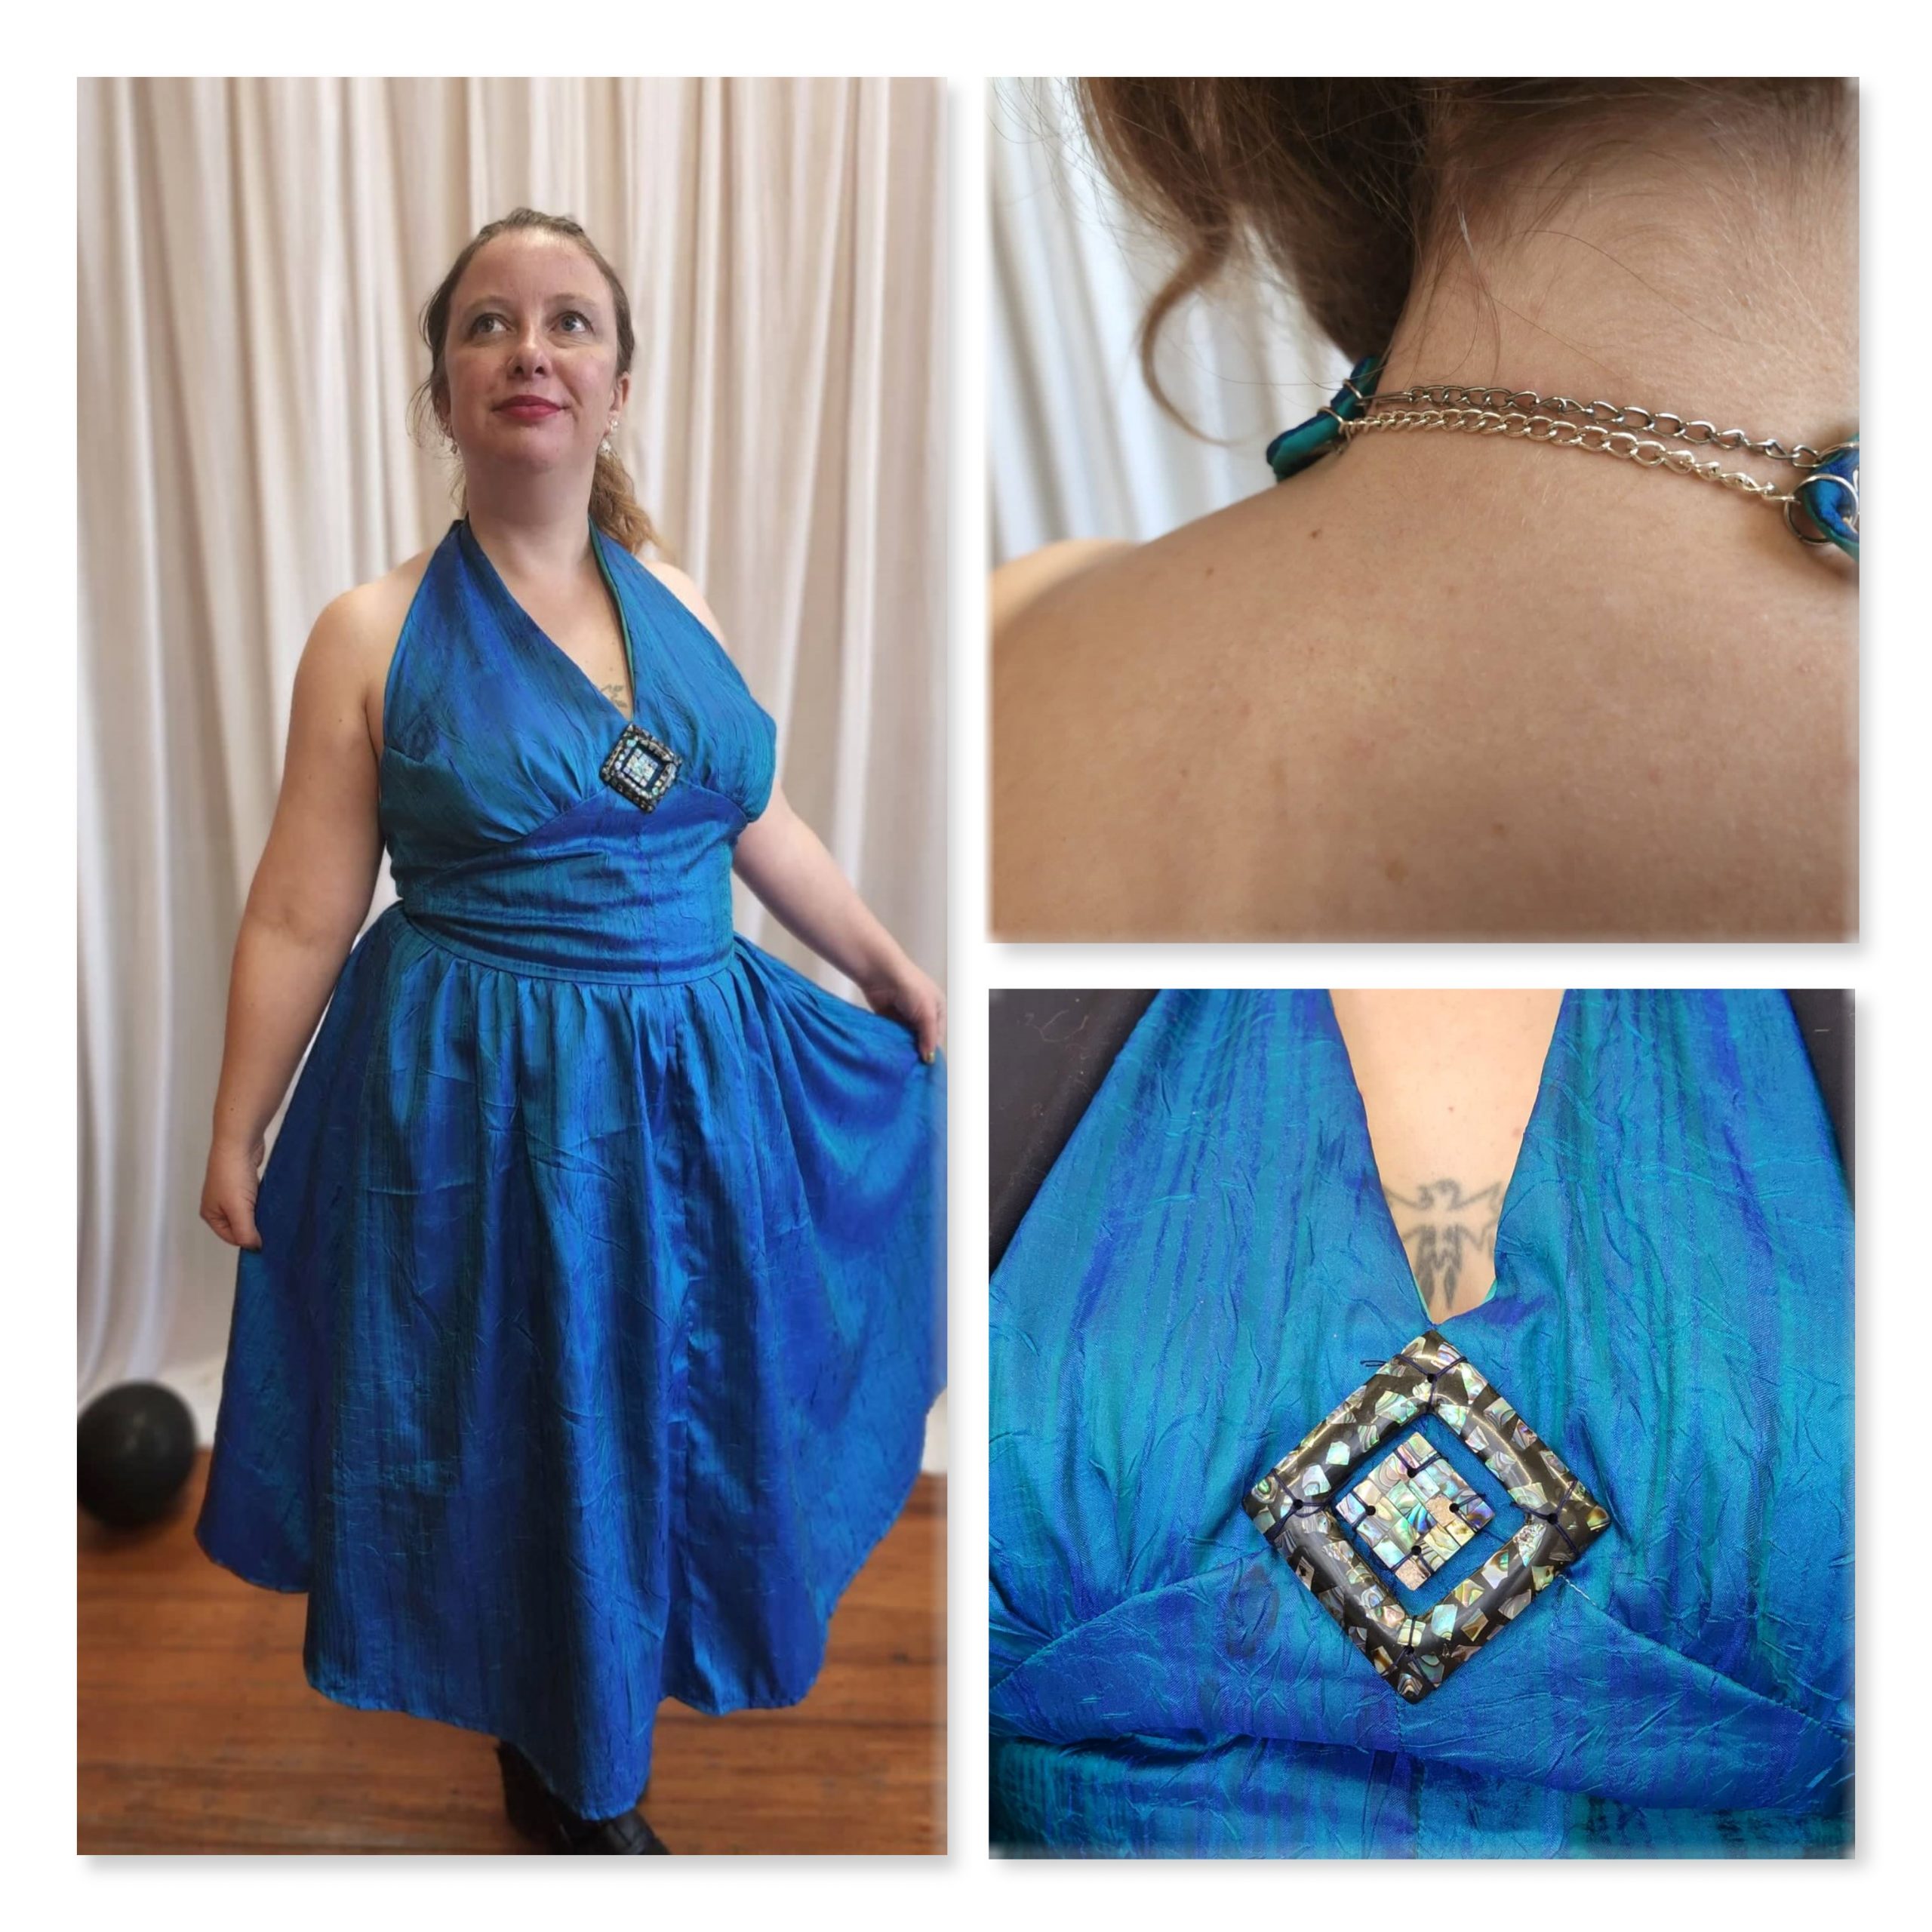
I’m invited to a wedding…which means an excuse to make a pretty dress! Only problem was I didn’t have many ideas. Too much blank slate! Since I wasn’t in the wedding I didn’t need to conform to a colour scheme or anything.
I pawed through my 2nd hand fabric stash for inspiration and found a few different teal fabrics I liked. Once I’d decided on the basic colour scheme, I rifled through my collection of patterns, trying to find appropriately fancy. From my short-list I finally chose Butterick B5209, a vintage 1947 halter neck with an interesting midriff design. The bodice was to be self-lined, and a side zip would complete the garment.
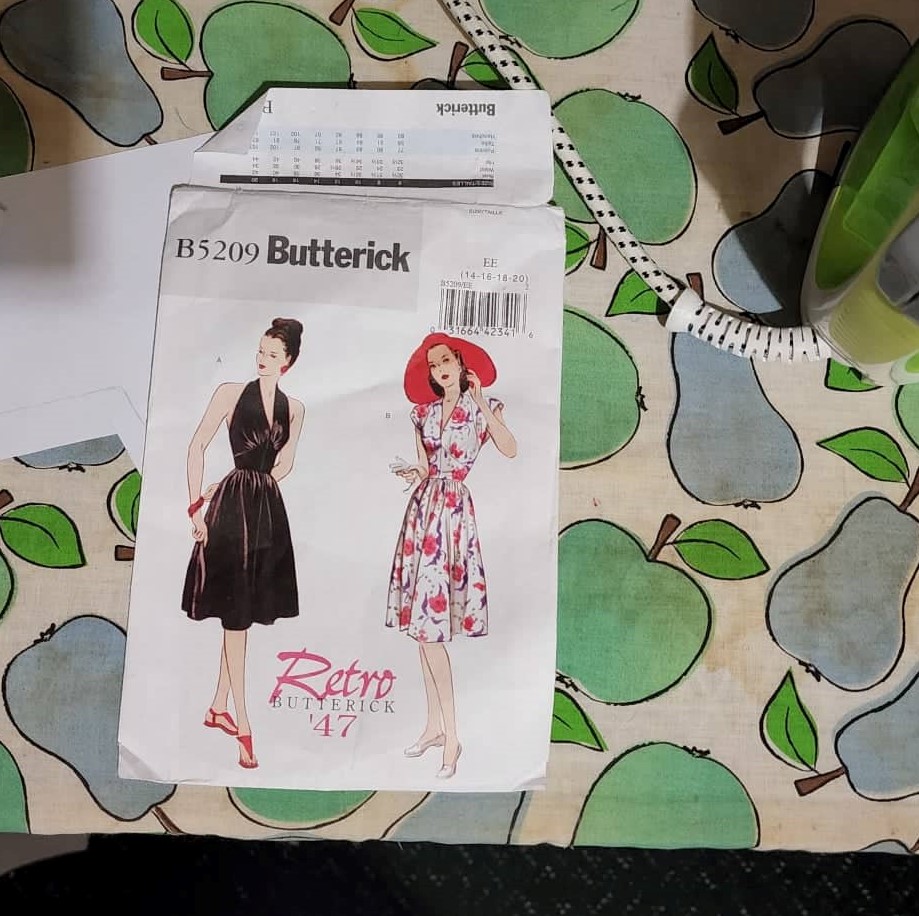
I originally thought I’d add interest by making the midriff panels from a contrasting shade of teal, but changed my mind and decided it looked classier just using the main fabric.
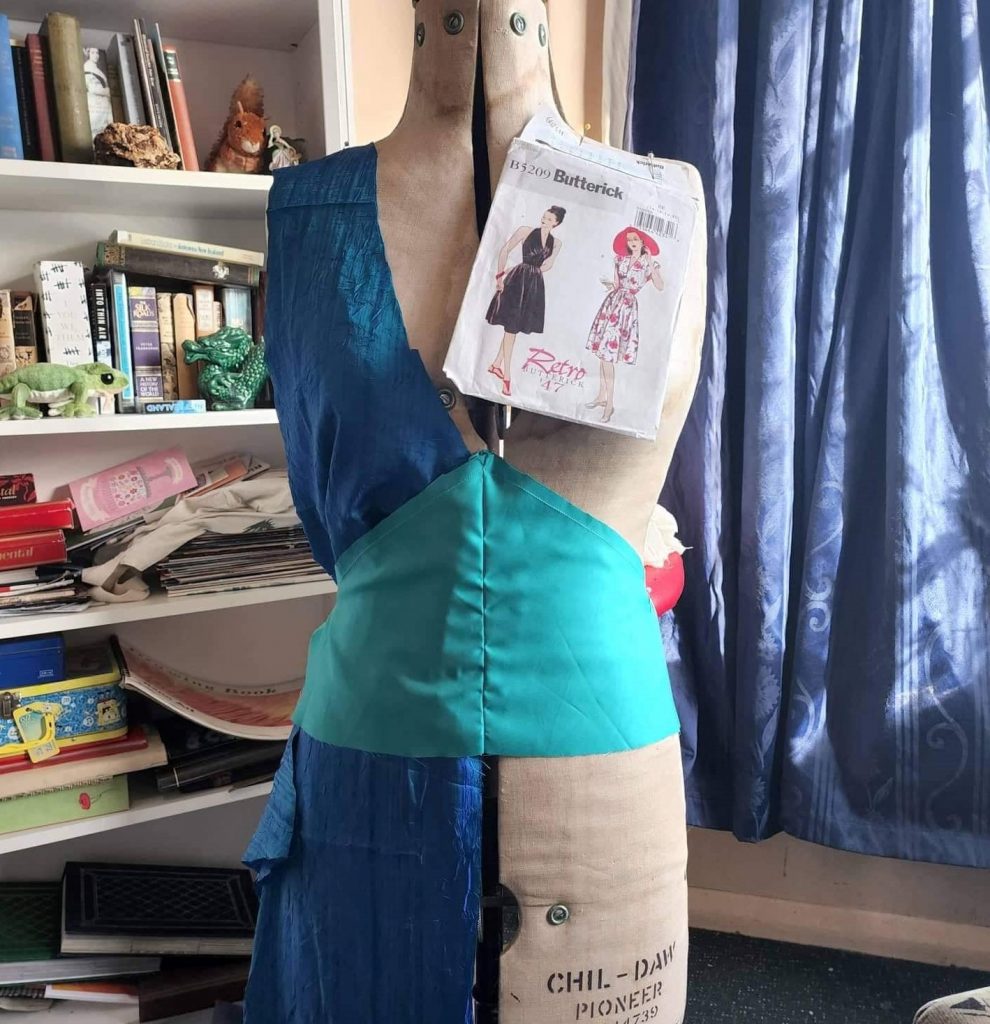
While the steps itself were very simple, I soon discovered that a lot of precision was required when sewing the main fabric and lining together. My first attempt at the bodice resulted in my usual fitting issue, as I had not tried grading the pattern before I started – the waist fit okay but it was too baggy around the arm holes. I also decided – and I’m not sure entirely what I was thinking – that the halter straps were too long. So I unpicked everything and re-cut the midriff sections and the halter pieces for better fit.
It was at this point the teal contrast fabric re-entered the scene, and I decided this would be a more appropriate lining, as I couldn’t see the blue fabric being comfortable against my skin.
The bodice was reassembled, only for me to discover the halter straps were now too short, and if I tried to connect them together, they pulled the whole bodice up so that the bust no longer sat properly under my boobs.
Woe! Catastrophe! Everything is ruined!
After sleeping on it, I came back with a new plan. Ignoring the halter straps for the moment, I proceeded to the much simpler skirt section, so easy in fact that I decided to double my work and make another layer from the lining fabric too. I’d noticed the delicate blue fabric was a little see-through and decided the lower half would benefit from lining also. The slightly heavier fabric also gave the garment a more pleasing weight.
With the skirts attached, and the side-zip in place, it was time to implement my ingenious halter solution!
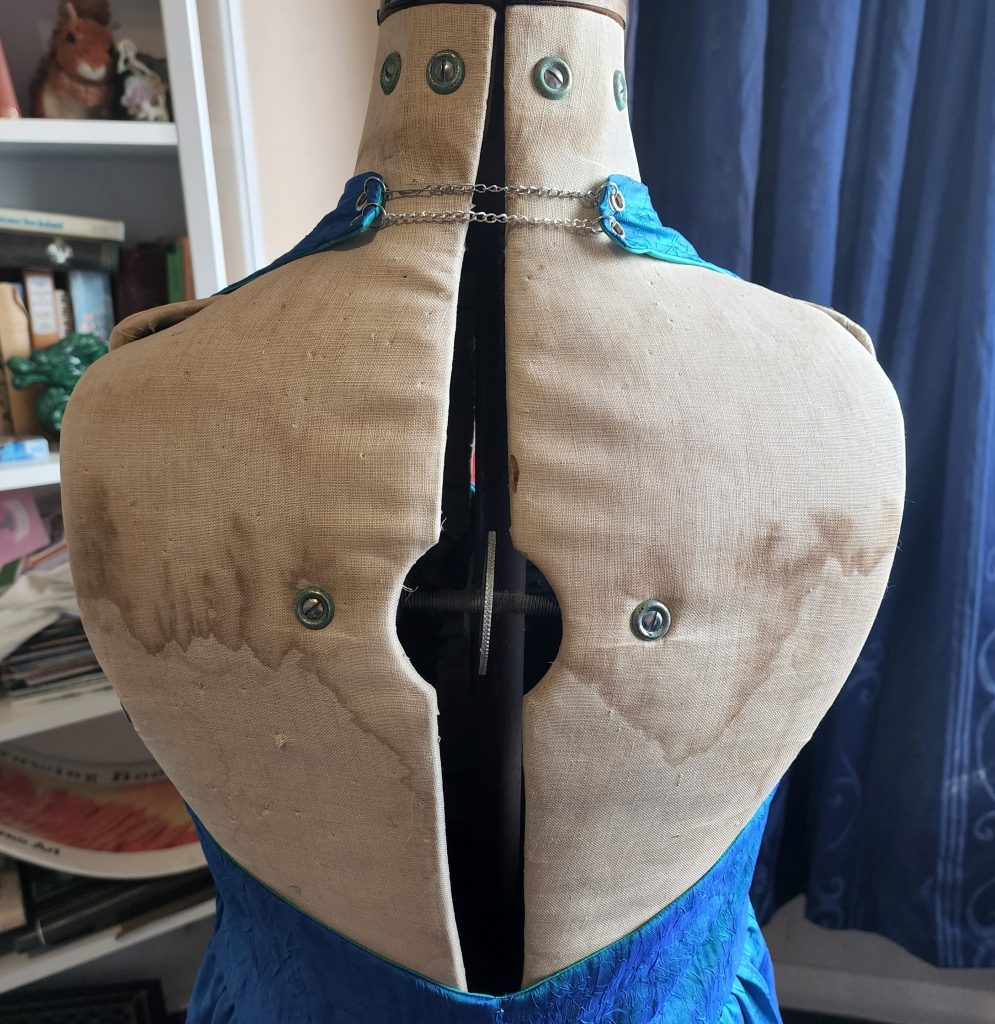
The top chain/clasp is from a broken piece of jewellery while the bottom chain is store-bought and left over from another project. I suspect this is going to be a weak point in the garment, as the area was never reinforced. But I expect it shall last for the one day I require it for, and beyond that, anything’s a bonus!
Finally, it was the moment of truth. I put the assembled dress on and…alas! Boob flaps!
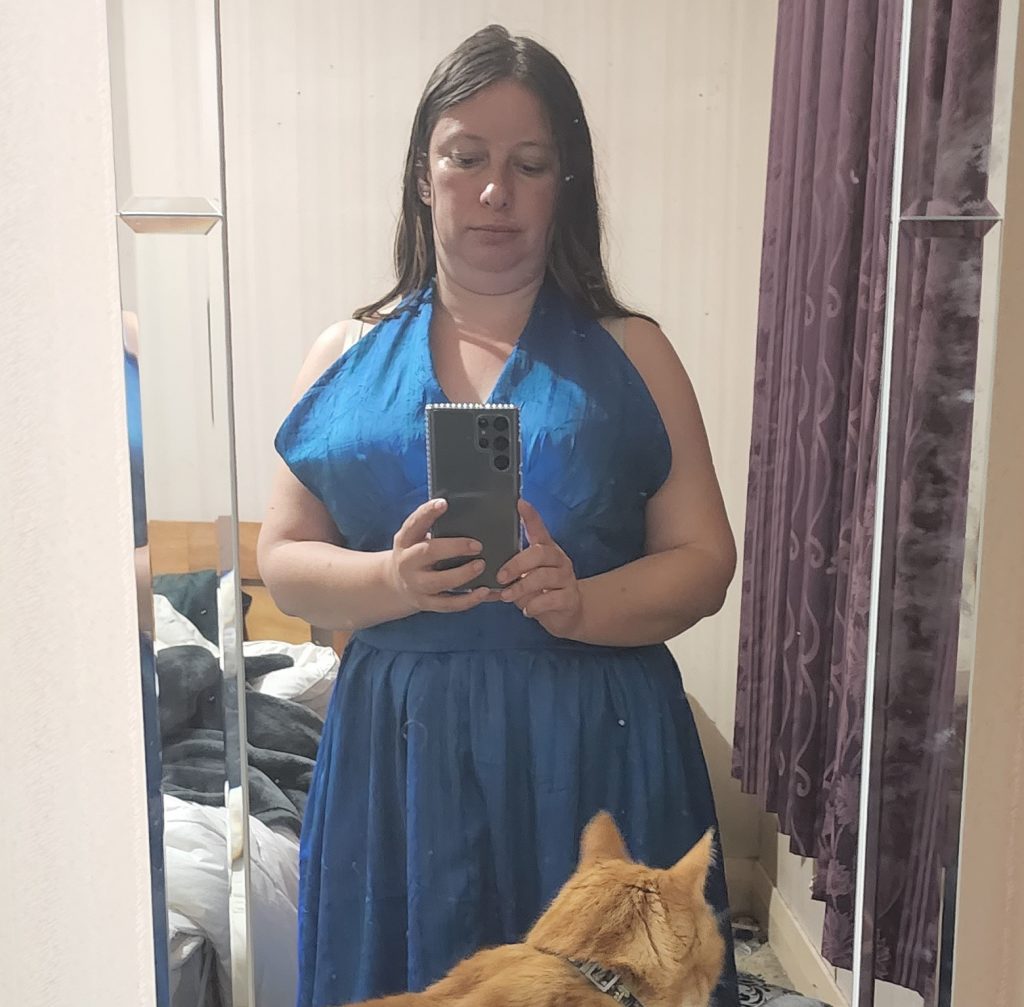
I’m at a loss to know how I should have adjusted the pattern to prevent this. But I’d come too far to give up now, so I decided a couple of darts would solve the problem. It rather messed up the nice pretty lined interior of the dress, but sometimes you just gotta mess up the inside so the outside looks good…right?
With darts deployed, my boobs were much snugger in their new home. Now it was time for the fun part…bling!
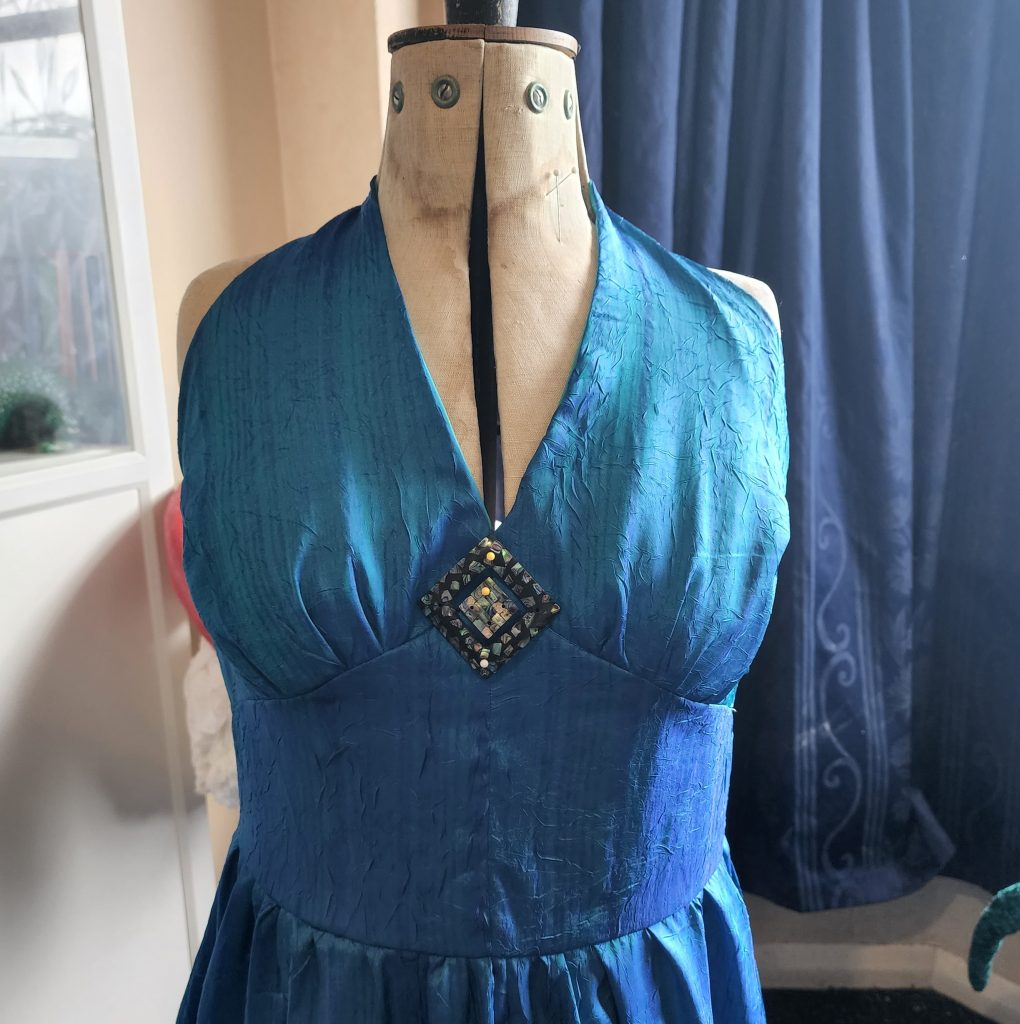
These paua-shell flavoured adornments were recovered from an op-shopped handbag that had outlived its useful life, and hopefully serve to draw the eye away from any remaining imperfections (while messing up the interior still further, but…eh).
Now the garment was complete but for the final step – finishing the hem. Now, I know I’m short, but it astonishes me every time how much I have to shorten garments before they’ll fit. The pattern picture showed a skirt hanging just below the knee, but for me it was hitting mid-calf. And I needed some help because I was getting mixed messages – my flatmate was certain I needed to keep it long. I went to the ladies of my family and they agreed, so long it stayed!
It was the day before the wedding, and it was finished! I stole the backdrop to do a little photo shoot of my own.
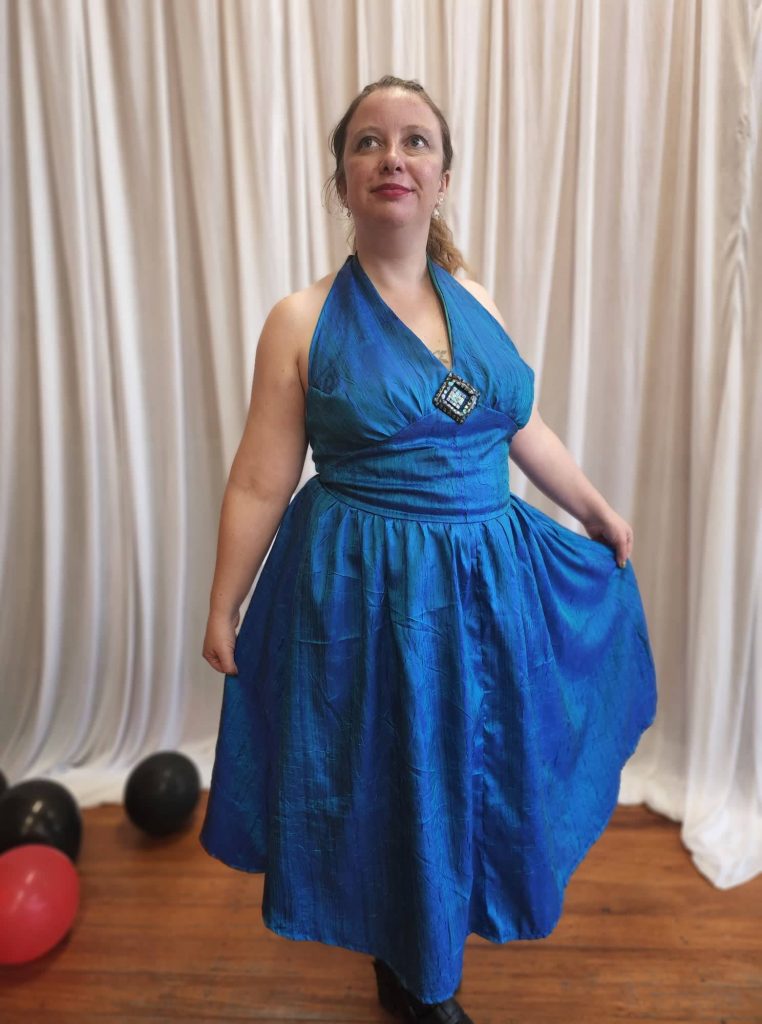
What do I call her? Well, she’s sort of ocean themed, and the bust gives a classical vibe, so…
The Guerilla Wardrobe name for this item is…the Nereid Party dress!
